As an Amazon Associate, I earn from qualifying purchases with no additional costs for you.
Moonstone’s popularity originates from its alluring blue sheen and reasonable pricing. Despite its abundance, the market is rife with high-quality counterfeits that are difficult to identify. Some people may not have seen a genuine moonstone, basing their perceptions on these fraudulent replicas.
Authentic moonstone is a form of feldspar that contains oligoclase and albite crystals. These minerals have a delicate micro-layered structure due to their reciprocal orientation. In contrast, phony moonstones have no apparent fractures or impurities and appear flawlessly uniform.
Identifying fake moonstones can be tricky since they are made of a particular type of glass known as opalite. In our exploration, we will look into the inner structure of genuine moonstones and discover their distinguishing features.

If you want to check out the acid for cleaning rocks and minerals, you can find it here (Amazon link).
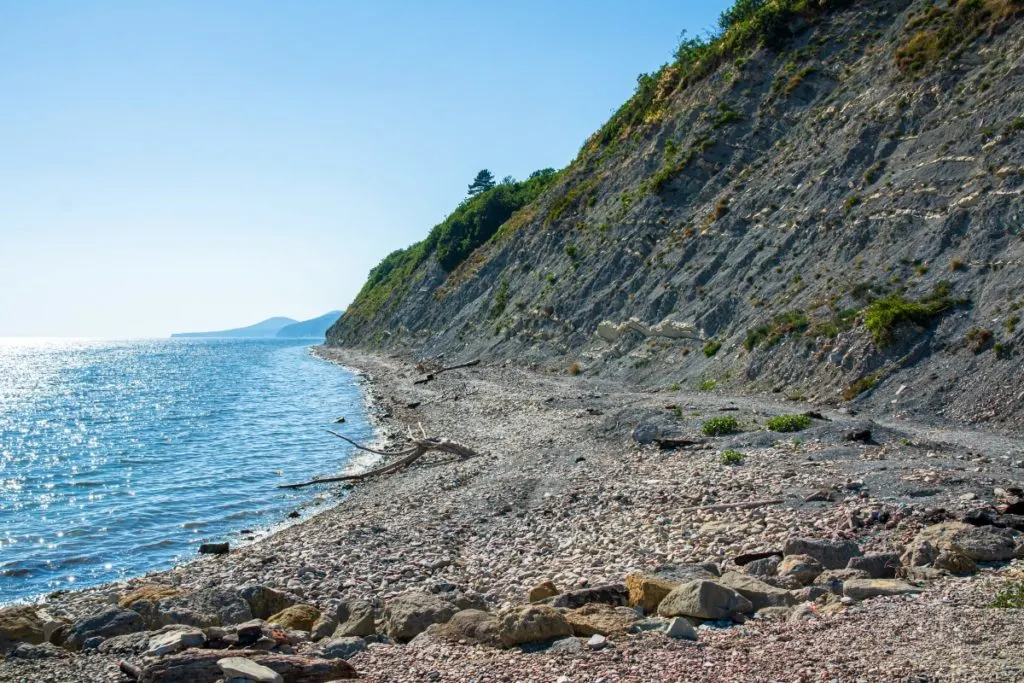
How To Clean Rocks From The Beach?
There are several methods for cleaning rocks from the beach. Below, you will find 7 simple and frequently used methods, so let’s look at them!
Method 1
Assessing rocks’ hardness and damage susceptibility is important before cleaning. Certain rocks resist severe cleaning, but others must be handled more carefully to prevent permanent damage.
Popular beach findings such as geodes, agates, quartz, dolomite, rhyolite, jasper, and petrified wood are usually sufficiently hard to resist cleaning. However, conglomerates, limestone, calcite, and fluorite should be carefully considered before cleaning because they are relatively softer and more prone to damage than other materials.
Place your rocks in a pail or tub of warm water slightly diluted with dish soap to begin the cleaning process. Wearing rubber gloves and armed with a standard nylon-bristled scrub brush, get to work cleaning.
Make sure the bristles are inside all the nooks and crannies. Using an old toothbrush is handy when working with tiny rocks or ones with fine details. Moreover, tweezers, dental picks, or big pins can help penetrate cracks and confined spaces.
A wire brush with brass bristles can be used for larger, harder rocks; however, care should be taken not to scratch or harm the smooth surface.
To maintain the integrity of the rocks, employ washing and soaking techniques whenever possible and save the use of chemicals for cleaning as a last resort. Your attempts at cleaning rocks will undoubtedly provide pleasing outcomes if you pay close attention to detail and use the right approaches.
Method 2
If your rocks still aren’t clean after scrubbing, try soaking them in cleaning vinegar, a mild acid.
If you want to free your rock from shallow limestone deposits, this should dissolve them. You will have to soak the stone in the vinegar solution for a few days, and if you see bubbles rising, it works.
TIP: If you want vinegar to clean rocks and minerals, I recommend you buy this one (Amazon link).
Method 3
Some cleaning products contain oxalic acid, or it can be purchased as a powder, which can be used to remove iron oxide stains and clay deposits from your rock.
Oxalic acid is one of the safest acids for cleaning stones apart from vinegar. It will clean many minerals, including quartz, with brown iron oxide staining, but always mix it with water before soaking your rocks.
You can reuse the oxalic acid many times before it becomes too contaminated. Oxalic acid is toxic to pets and humans, so don’t use it on surfaces where food is prepared or in ceramic dishes, and don’t let it get onto your skin or your eyes.
TIP: If you want to buy oxalic acid to clean rocks and minerals, I recommend you buy this one (Amazon link).
Method 4
Muriatic acid is another term for hydrochloric acid, which may be purchased at hardware stores. However, it is a hazardous substance that should be avoided.
It is, nevertheless, effective at removing carbonates and stubborn iron oxide stains from rocks. Before using any acid, always wash your specimens with water and mild dish soap to ensure they are as clean as possible.
When the muriatic acid has turned yellow, brown, or green, place the rocks in a pail of warm water, including household baking soda, to neutralize it.
Wash the rocks frequently in clean water for a few hours or days, depending on how long they were exposed to the acid. Before using hydrochloric acid, study to ensure you understand how to dispose of it safely.
Always wear chemical-resistant gloves and safety goggles when dealing with any form of acid.
TIP: If you want to buy muriatic acid to clean rocks and minerals, I recommend you buy this one (Amazon link).
TIP: Beach rocks are great for tumbling. If you are interested in tumbling rocks but do not know how much the tumbling costs, check out the article below:
Is Rock Tumbling Expensive? Complete Cost Breakdown
Method 5
Although typically more expensive, ultrasonic cleaners provide a delicate yet efficient way to clean delicate rocks like zeolites and crystals. These cleaners usually consist of a stainless-steel basin fitted with piezoelectric drivers, which cause vibrations in the solution where the stones are immersed at ultrasonic frequencies.
Ultrasonic cleaners come in varying sizes to suit different demands and have extra features like timers and built-in heaters. By creating bubbles that quickly form and burst, the vibrating action effectively loosens and removes soluble mineral deposits and grime from the surface of the rocks.
An oxalic acid solution can be added to the cleaner to increase cleaning power, particularly if the cleaner has a heater to keep the liquid slightly below boiling point. This mixture can significantly increase the cleaning efficacy, guaranteeing that your fragile rocks get the deep, yet gentle, cleaning they need.
TIP: If you want a non-expensive ultrasonic cleaner for cleaning small rocks and minerals, I recommend you buy this one (Amazon link).
Method 6
Sandblasting is another way to clean beach rocks. The blaster is relatively inexpensive, but you have to use it with a compressor, which can cost a bit. You can use it to blast your rock with grains of table salt or tiny glass beads with different hardnesses.
It may be a sound investment for an avid rockhound, but the expense of the compressor is not worth it for casual collectors. Also, you need to know what you are doing to avoid damaging your rock.
BTW: Do you want to know more about rock and mineral identification? The books listed below are the best ones you can find on the internet (Amazon links):
- Smithsonian Handbooks: Rocks & Minerals
- Gemstone & Crystal Properties (Quick Study Home)
- Ultimate Explorer Field Guide: Rocks and Minerals (National Geographic Kids)
Method 7
You can also buy a small water gun used by dry cleaners to spot clean fabric, which creates a high-powered water jet of fine droplets that can loosen hardened clay and mud. They are relatively inexpensive and worth the price if you clean rocks often.
TIP: Do you know how funny activity dyeing rocks can be? It is a great activity to do with kids. Find out more about dyeing rocks with food colouring in the article below:
How to Dye Rocks with Food Coloring? Follow These 5 Steps
How Do You Remove Sand From Rocks?
Sand consists of fine, loose particles easily rinsed off under running water. You can spray your rocks on a sieve or screen with a pressure washer or garden hose.
If your stones are pitted or cracked, the pressurized water can reach in and rinse out most of the sand.
You could also take the rocks to a car wash and use their pressure washer. You may have to let the rocks dry out and repeat the process several times. A pen-knife blade can prise out bigger sand particles from cracks and crevices.
You can also use toothpicks and toothbrushes to scrape off fine sand. If you have an air compressor, you use the compressed air to blast the sand off your rock. You must attach a nozzle to the hose to direct the air in bursts around the rock.
Brushing your rock with a nylon scrubbing brush can also remove sand. Although beach sand is very fine and gets in everywhere, brushing and washing should remove almost all of it.
The little fabric guns mentioned previously work very well at removing sand from fine cracks in the rock.
Conclusion
Thoroughly cleaning beach rocks requires careful assessment of their hardness and fragility. Protect your skin and eyes from chemicals and airborne particles to ensure safety. Exercise utmost care when dealing with acids. Give precedence to milder approaches before turning to more severe ones. Commence the cleaning process by combining a dish soap and water solution, then utilize a nylon scrubbing brush for the initial cleaning phase.
TIP: You weren’t so lucky and found no sea glass on the beach? Don’t be sad; you can make your sea glass! Check out the step-by-step guide in the article below:
Step-by-Step: Making Sea Glass With & Without Rock Tumbler
