As an Amazon Associate, I earn from qualifying purchases with no additional costs for you.
Acquiring a piece of obsidian that needs to be cut and polished can be stressful if you have never done it before. Luckily, you can cut and polish obsidian at home in many ways. Using a Dremel is the most versatile way of cutting and polishing your obsidian, as it can be used for both parts of the process.
You can easily cut obsidian using a Dremel and diamond cutting wheel or a tile cutter with a diamond blade. Polishing obsidian can be done with a Dremel tool or using a tumbler. You can also polish your cut obsidian by hand using fine-grid sandpaper and a polishing cloth.
Cutting and polishing obsidian can be a bit tricky. Luckily, I have broken down the process into steps and even explained how to clean the obsidian before cutting it. There are two easy ways to cut obsidian at home and three ways to polish obsidian at home, which will be explained below.
If you want to check out the best dremels and dremel accessories for cutting and polishing obsidian, you can find them here (Amazon link).
Is It Possible To Cut And Polish Obsidian
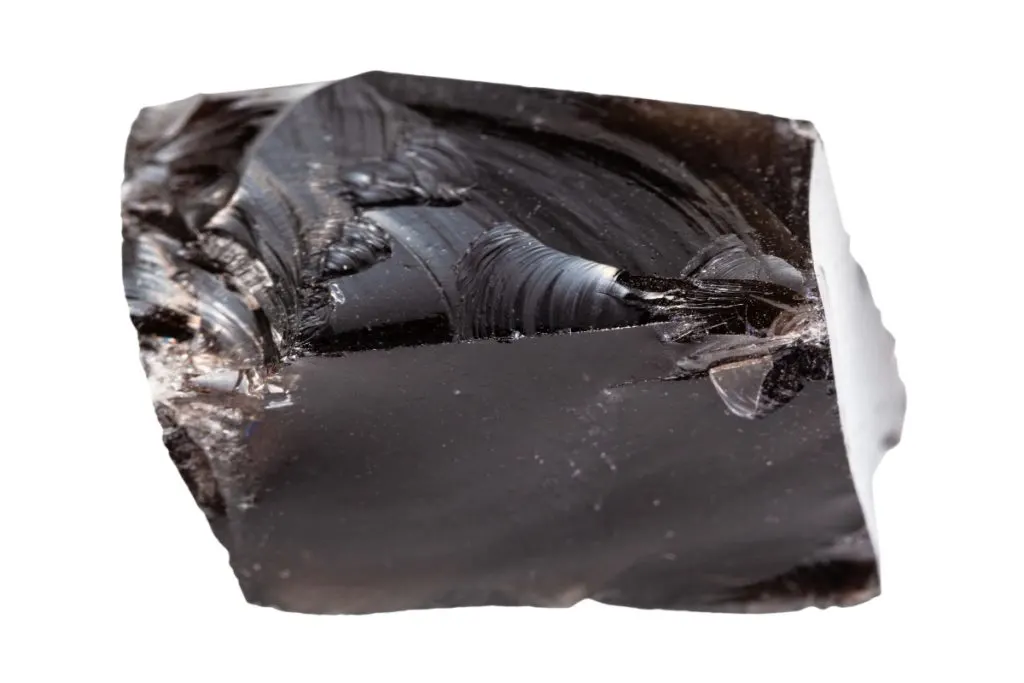
Obsidian is a naturally occurring type of glass stone formed during volcanic activity. If you are new to working with stones or gems, you might wonder if cutting and polishing obsidian is possible.
Since obsidian is technically a glass stone, it is easy to see when using a Diamond Saw. This makes it one of the more accessible and ideal types of stone to cut and polish as desired.
Cleaning Obsidian Before Cutting & Polishing
Obsidian must be cleaned before it can be cut and polished. Cleaning your stone before working on it allows you to discover any flaws, fissures, or scratches that would otherwise go unnoticed. Your stone’s fissures and weak places may dictate where you should begin cutting.
How Do You Get Dirt Off Obsidian
Removing dirt from your unworked obsidian is a relatively simple process. You can remove dirt or soil from your obsidian by washing it for the most part.
The best way to wash your obsidian is to use soapy water and a very soft cloth. Using any rough materials to scrub your obsidian may cause it to develop cracks, scratches, or lose quality.
If there is still “dirt” on the obsidian after washing it with soapy water and a cloth, you might have to use other tools to remove the unwanted areas.
For example, if obsidian absorbs too much moisture, a “hydration rind” might form in the stone. The hydration rind can be removed by using a set of diamond polishing pads.
TIP: Not sure how to clean your rocks before cutting and polishing? Check out the methods on how to clean rocks in the article below:
How to Clean Your Rocks and Minerals: 5 Simple Ideas
How To Cut Obsidian At Home
To cut obsidian at home, you will need one of two tools. For more significant pieces of obsidian, it is recommended that you use a tile saw with a diamond cutting blade. Using a Dremel tool with a diamond cutting wheel might be better or easier for smaller pieces of obsidian.
Cutting Obsidian With A Tile Saw
If you have a tile saw and want to cut your obsidian, use a diamond cutting blade to avoid damaging the stone. The following demonstrates cutting obsidian with a tile saw and the appropriate blade.
Step 1: Ensure Your Tile Saw Is On A Stable Surface
Ensuring that your tile saw is on a suitable surface is crucial. Ensure you have enough space to move your arms and steady the saw. If your surface is unstable enough, you could injure yourself or damage your stone.
Step 2: Ensure Your Saw Has Water
Though not all tile saws have water reservoirs, many do, which is best for cutting stone. In cutting, you must keep your saw and stone wet to ensure that as few dangerous particles as possible can be inhaled. Make sure to fill your reservoir before starting your cutting.
Step 3: Mark Your Stone Before Cutting
Cutting a hard substance usually means that if you make a mistake, you have few options for correcting it. To get the most out of your stone, mark it before cutting it to reduce waste and loss.
Step 4: Cut Your Obsidian
Cutting your obsidian is easy to understand, but there is still room for error if you must be more careful. The perfect moment to cut is when your blade has reached its maximum speed. Once the saw is ready, gently insert the stone into the blade.
The blade will begin to chip away at the stone, and you should feed the obsidian carefully. Obsidian is tough to cut, so feed it slowly and protect the blade or stone.
BTW: Do you want to know more about rock and mineral identification? The books listed below are the best ones you can find on the internet (Amazon links):
- Smithsonian Handbooks: Rocks & Minerals
- Gemstone & Crystal Properties (Quick Study Home)
- Ultimate Explorer Field Guide: Rocks and Minerals (National Geographic Kids)
Cutting Obsidian With A Dremel
Use a diamond cutting wheel if you have a Dremel tool and wish to cut your obsidian.
The diamond cutting wheel allows you to cut through obsidian and cause minimal damage to the stone. The following are the steps for cutting obsidian with a Dremel and diamond cutting wheel.
Step 1: Secure Your Dremel Or Stone
The first step in cutting your obsidian with a Dremel is to find out how you would prefer to do that. If you wish to hold your stone and anchor your Dremel, you can use a stand or a vice to secure it.
If you wish to hold your Dremel in your hand and secure the stone in one place, you can use adhesive putty made to secure gems and rocks. Ensure your stone is secured correctly to avoid chipping or damage to the obsidian.
Step 2: Make Sure You Have Water With You
The next step is to ensure that you have water ready. Tile saws generally have reservoirs for water to keep the blade and stone cool and avoid damage and excessive debris from cutting the stone.
When using a handheld device like a Dremel, you must manually wet the stone every few seconds to reduce dust and debris. Ensure you wear a mask and protective eyewear, as the particles from cutting obsidian can harm your health.
Step 3: Measure And Mark Your Stone
Like a tile cutter, marking your stone ensures the best result. Measure your stone correctly to ensure you get the best result while cutting.
Step 4: Cut The Obsidian
If your tool is mounted, you can slowly move your stone into your tool’s blade to allow it to cut the stone. If your stone is mounted, move your instrument to the part you want to cut.
Ensure you keep your tool and stone stable to avoid damaging them, and remember to wet the stone occasionally. Do not get impatient; try cutting the stone fast, as this could ruin the stone and damage your tool. Instead, take your time to make clean and precise cuts.
TIP: The best tools for polishing rocks and adding a soft glimmer are the rotary dremels. Check out reviews for the best dremel drills on the market in the article below:
3 Best Dremels for Polishing Rocks & Crystals + Accessories
How To Polish Obsidian At Home
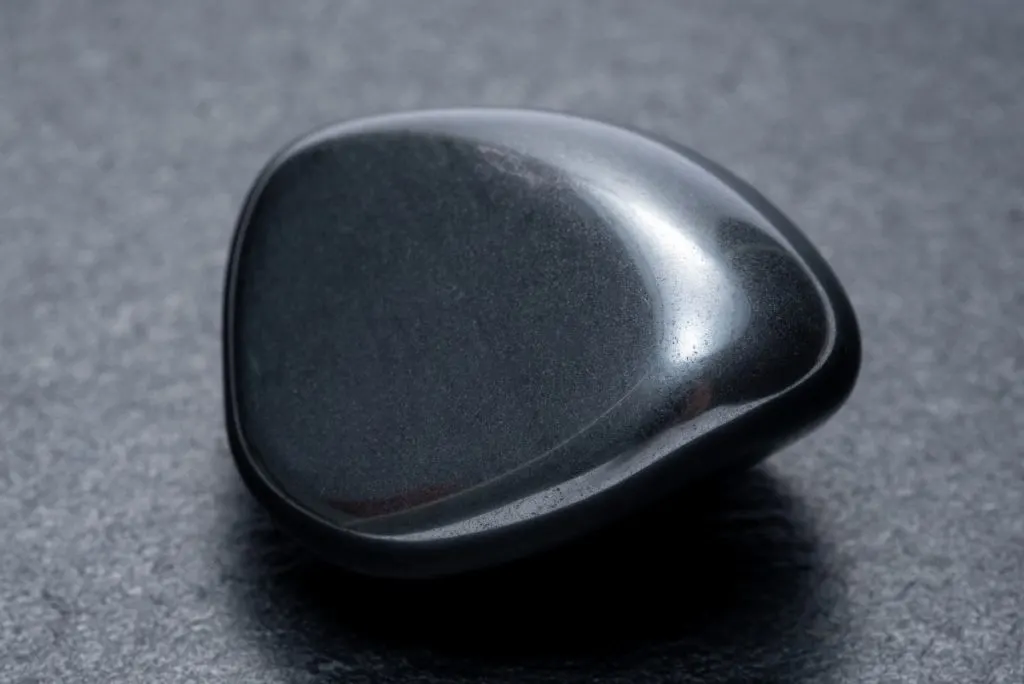
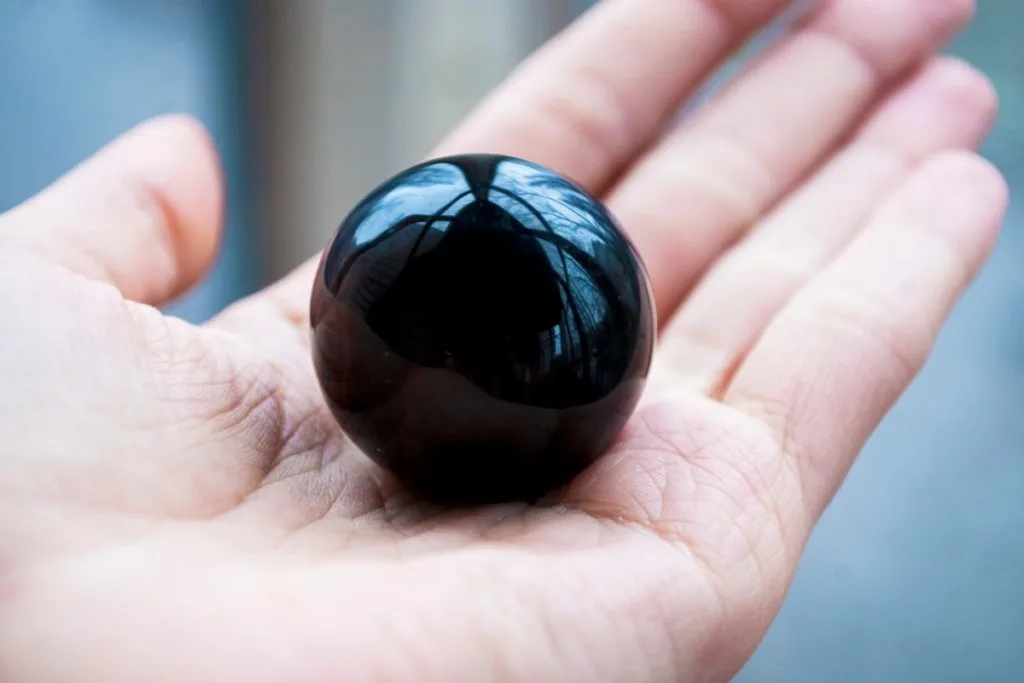
You can polish your obsidian at home after cutting your stone into its desired shape. You can use a tumbler if you are not looking for a specific form for your obsidian. Tumblers generally make the edges of obsidian round and can polish certain types to the point of being see-through.
You can polish your obsidian using a hand-polishing kit to maintain your cut shape. Alternatively, you can also use a Dremel to help you with polishing.
Can Obsidian Be Tumbled
Obsidian is a type of stone that, when tumbled, comes out looking quite beautiful and smooth. However, there are quite a few steps to this process, and many people struggle to find the right combination to make their obsidian truly beautiful without causing it to chip or get damaged.
To tumble obsidian correctly, you must find the right kind of tumbler. Vibratory tumblers are best for obsidian. With this tumbler type, you must also find a suitable filler and water to keep the stones from chipping.
Based on the experience of others, it is recommended to tumble your obsidian first with medium grit between 150 and 200. Afterwards, you must tumble the stones with fine grit between 500 and 600.
Once you’ve finished the second step, you will have to tumble again with a polished mixture. You might also have to furnish your obsidian after that if needed.
TIP: Vibratory rock tumblers are the best option for tumbling obsidian. Find out how vibratory rock tumblers work in the article below:
Vibratory Rock Tumblers: How They Work & Which One Is Best?
How Long Does It Take To Tumble Obsidian
Since there are different steps to the tumbling process, it can take quite a while to tumble obsidian fully. The whole process can take anywhere between 5 and 6 days when counting all the steps together.
The medium grid tumble period or first step can take two to four days, depending on how the stone looks after the first two days. Keeping an eye on the stones and maintaining the thin mud slurry is essential.
The fine grid or second step period can take 1 to 3 days, depending on how the stones look after the first day.
The last step and polishing period should last about two days. You can let the stones tumble longer if needed, but it is essential not to over-tumble at this point.
Polishing Obsidian By Hand (Without A Tumbler)
When polishing your obsidian by hand, there are a couple of extra steps compared to tumbling your obsidian.
The additional steps are because hand polishing allows you to customize the shape of your obsidian more than a tumbler does. The following are the steps for hand-polishing your obsidian.
Step 1: 80 Grit Sandpaper
The first step involves getting the basic shape of your obsidian. To do this, use a preferably high-quality 80-grit sandpaper to coax your obsidian into a basic form. Use water to help the process and see the shape better. After shaping the stone, make sure to clean it properly.
Step 2: 120 Grit Sandpaper
After getting your stone into its rough shape, it is time to smooth it out using 120-grit sandpaper. Wash it properly after using the 120-grit sandpaper to smooth out the stone.
Steps 3 And 4: 220 – 300 Grit And 600 – 800 Grit Sandpaper
The 3rd and 4th steps are similar, with the grit of the sandpaper being the only difference. Like in step 2, you will smooth out the stone using sandpaper. Be sure to use water to help the process and cause minimal damage.
Ensure you wash your stone after using the 220 – 300 grit paper and the 600 – 800 grit sandpaper.
Step 5: 2000+ Grit Sandpaper
The last step involves sandpaper, which requires about 2000 grit or higher sandpaper. Use this sandpaper to smooth the stone and ensure the same texture is present on all parts of the stone. Wash your stone once done.
Step 6: Final Polish
The final polishing step requires using a bit of cerium or tin oxide and either rugged leather or a canvas.
First, wet the leather or canvas and then paste it with cerium oxide. Once ready, you can start polishing your stone until it looks as desired. This step can take a lot of time.
TIP: Obsidian is the rock that all rockhounds want to have in their collections. But where to find obsidian? Find out the answer in the article below:
Finding Obsidian: 6 Best Locations Near Me (United States)
Polishing Obsidian With A Dremel
You can easily polish obsidian using different types of sandpaper and a polishing wheel on your Dremel. You will need at least four sandpaper grits, and you should also use cerium oxide for the final polish.
Step 1: Shaping Stone Using 120 Grit Sandpaper
The first step allows you to use your Dremel to shape the stone to your desired shape by using 120-grit sandpaper. It is crucial to wash your stone after shaping.
Steps 2 And 3: Smoothing Stone 220 – 300 Grit And 600 – 800 Grit Sandpaper
This step is similar to the hand polishing guide. Simply use your Dremel and 220 – 300 grit sandpaper to smooth out your stone. After the first round, wash your stone and repeat the process with sandpaper between 600 and 800 grit.
Step 4: Final Smooth Out With 2000+ Grit Sandpaper
After washing your obsidian, it is time to do the final smoothing using your Dremel and 2000+ grit sandpaper. This will help you create a uniform texture. Once done with this step, rewash your stone.
Step 5: Polish Your Stone
The last step is to use your Dremel and polish wheel and a cerium oxide polish or paste to give your obsidian its final polish. This process can take some time but is much faster than doing it by hand.
Conclusion
If you want to cut and polish obsidian in the comfort of your home, there are many ways to achieve this.
Though the process is not extraordinarily complicated, it might still take some time, and it is essential to remember that practice makes perfect. Be sure to use a mask and protective eyewear to ensure maximum safety.
TIP: Obsidian is a valuable material with intriguing textures. It is widely used for tumbling, beads, and small sculptures. Find out more about obsidian value in the article below:
5 Crucial Factors of Obsidian Value: What’s Obsidian Worth?