As an Amazon Associate, I earn from qualifying purchases with no additional costs for you.
If you wish to drill holes in rocks, you will need the right tools and techniques to use them properly. The most popular tool to create holes in stones is the Dremel rotary tool. However, these are expensive, and you may want to use an alternative. So how do you drill holes in rocks?
You will generally use a Dremel drill to drill holes in smaller rocks. For higher precision or to drill larger rocks, you should use a drill press. Using a cold chisel, sledgehammer, and muscle power, you can also create holes in boulders.
You can safely use a Dremel drill, a drill press, or a cold chisel and sledgehammer, to drill holes in rocks, make holes in stone walls, or drill holes in boulders for artificial waterfalls. Let’s take a look at this process.
If you are interested in checking out the best dremels and dremel accessories only you can find them by clicking here (Amazon link).
Can You Drill A Hole In A Rock?
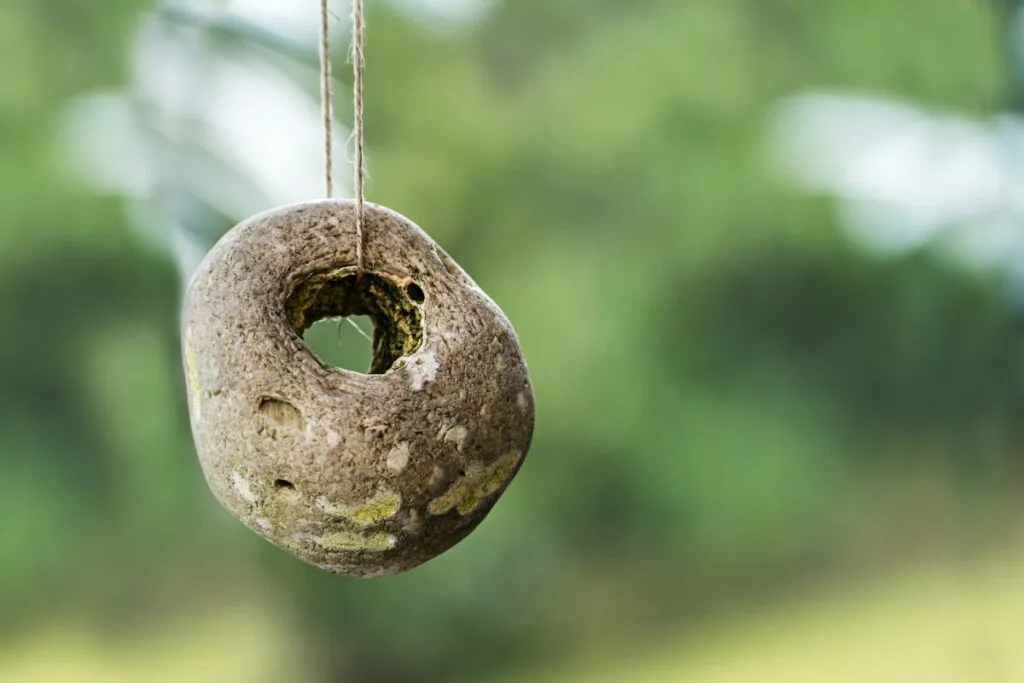
You can drill holes in the rock. Many useful things made of stone might require holes or something you can make from rock by drilling holes in it. While you may think this would be pretty challenging, the job becomes easy with the right tools and techniques. But what are these tools?
What Can I Use To Drill Through Rocks?
If you need to drill through rocks, you can use a rotary tool such as a Dremel, which is most appropriate for small stones. An electric drill fitted with a diamond-tipped masonry bit can also be used, or, for more precision, a drill press.
What Is The Easiest Way To Drill Hole In Rock?
The easiest way to bore a hole in a rock depends on the size of the stone. If you must make a precise hole in a large rock, we recommend using a drill press. However, these are bulky and expensive. Here’s how to use them.
Step One
Before starting, ensure that you stay safe by not wearing loose clothing that could become tangled around a drill bit spinning at extremely high speed, securely tying back long hair, and wearing safety glasses or goggles.
Wear breathing protection to avoid inhaling hazardous rock dust, although this is not essential if you drill underwater, as debris from the drilling process becomes slurry.
Step Two
Begin by using a sharpie to mark the position of the hole on the rock. Set the stone onto a block of wood and clamp the wood securely onto the drill press’s table. Lay down a ring of plumber’s putty to form a dam on the surface of the rock around the mark you have made.
Step Three
Fill the dam with water to lubricate and cool your drilling operation. Place a bucket underneath the press’s table to catch water.
Step Four
Insert a carbide or diamond-tipped masonry drill bit into the drill press and ensure it is securely in place. Ensure that the bit is long enough to make the depth of hole you require.
To insert the bit, loosen the drill’s chuck, put the bit in, and tighten the chuck again. Switch on the press and begin drilling. Start slowly and gradually speed up.
Use your finger to test the warmth of the water in the dam is becoming, as you don’t want the drill bit heating up. If you are drilling clean through the rock, the sludgy water in the dam will drain out the bottom, messing with your work area.
However, the bucket you have placed underneath will help to catch the sludge. Use a cold chisel to chamfer the edges of the hole, and you have a hole in your rock.
Select a lower RPM for harder material and a higher RPM for smaller bits—experiment to determine the best speed for various types of rock.
TIP: Rock cutting is a specialized task, and you cannot use any old saw for the job. Check out the best saws for cutting rocks and more in the article below:
What Is The Best Saw For Cutting Rocks? Try These 3 Saws
How To Drill A Hole In A Rock With A Dremel
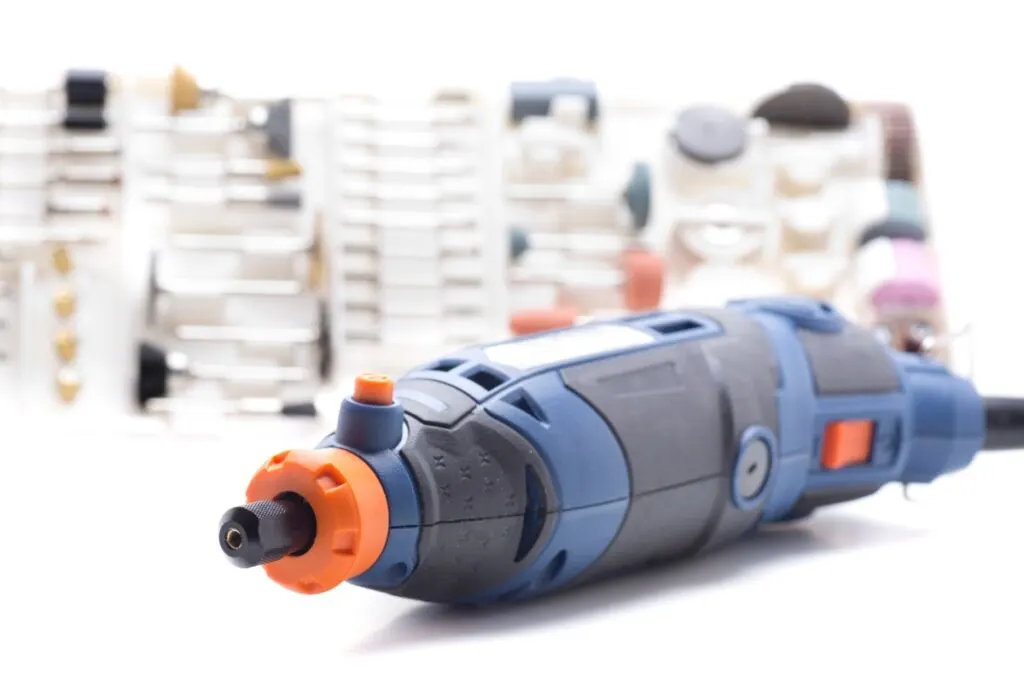
If you wish to drill holes in small stones for lapidary work, use a Dremel rotary tool, sometimes called a Dremel drill. In contrast, if you need to make a hole in outdoor boulders or stone walls, use a drill with a carbide or diamond-tipped masonry bit. Use a hammer drill to push into the rock.
There are three significant differences between the Dremel and an ordinary electric drill.
- A regular cordless drill typically has a maximum speed of 2000 RPM
- A corded drill usually works at a top speed of around 3000 RPM
- The Dremel tool operates at a full speed of 35 000 RPM (although some models are more like standard drills with a maximum RPM of 3000).
As a result, an ordinary electric drill has much higher torque than a Dremel.
The other big difference between the two tools is :
- The Dremel is much smaller and lighter than an ordinary drill, making it more appropriate for delicate work on small pieces. The Dremel will take a far greater variety of attachments than a drill, meaning you can use it for many jobs apart from drilling.
- Drills usually have a reverse gear and sometimes a hammer setting, which a Dremel or other rotary tool does not.
Due to these differences between the tools, a Dremel (or another brand of rotary tool) is more suited for use with small workpieces such as lapidary stones. It is not a tool for use on large pieces of rock.
TIP: Dremel 4300-5/40 (Amazon link) is among the best dremel tools used to drill holes in rocks and crystals.
Step One
Don proper protective equipment such as safety glasses and a dust mask, tie back long hair, and do not wear loose clothing.
Step Two
Using a water bath to drill rocks helps in several ways compared to dry drilling. The water acts to pull heat out of the stone, offsetting the high temperatures caused by the friction of the burr rotating against the rock.
As a result, the burrs will last longer, and you will not burn your fingers. The water acts as a lubricant to prevent debris from the drilling from clogging up the burr.
If you drill underwater, the debris will come off as slurry rather than dust, protecting your respiratory system.
Step Three
To prepare the bath, select a watertight plastic container sufficiently deep to accommodate the stone while allowing you to hold it comfortably. An old cream cheese container is a good option.
Trim a piece of craft foam or leather to size and use a sharpie to mark off the spot inside the container where you wish this pad to sit.
Glue the pad onto the bottom of the container using an adhesive that can bond the foam or leather to plastic and will not dissolve in water. Contact cement is a good choice for this application. Ensure that you follow the manufacturer’s directions for the adhesive.
This pad will hold the stone in place while drilling it and give protection to prevent the burr from punching through the container (although this should not happen unless you are highly aggressive with your drilling).
Alternatively, use a wad of poster putty between the bottom of the container and the stone.
TIP: Gloves will give your fingers valuable protection when you’re drilling holes in rocks or doing any other activity with rocks. Check out my recommendation for the best gloves in the article below:
3 Best Gloves for Rockhounding: Protect Your Hands
Step Four
Use a sharpie to mark the hole’s position – select a sharpie that contrasts with the stone’s color. Place the hole at least 1/4 inch away from the edge of the stone to maintain its strength and durability. Avoid drilling near any cracks or lines of weakness in the rock.
Although we would always recommend you mark the hole before starting, it is imperative when working underwater due to the refractive index of the water and the interference patterns (wavelets) created by the vibrations of the rotating engraving burr.
Because water has a higher refractive index than air, it “bends” the light, making it tricky to line up the burr with the correct position.
Doing so becomes even more complicated when you switch the Dremel on, and the vibrations cause interference patterns on the water’s surface, which tends to obscure your view of the stone. A marked position makes it easier to aim at the right place.
Step Five
Spread a towel on your workbench to soak up any water that splashes out of the bath. This towel is also convenient for wiping your hands.
Place the prepared water bath on the towel, put the stone on the pad of foam or leather, and pour in enough water to submerge the rock completely. Add a squirt of dishwashing liquid and some silicone lubricant. Your water bath is now ready for use.
If you are using a flex shaft, it is helpful to have carabiners hanging from the ceiling of your work area.
Then you can clip the Dremel to one of these and have it suspended freely over the workbench so that the weight of the flex shaft does not tug on the handpiece. Ensure you have good lighting in your work area to see what you are doing.
Step Six
Select the right diamond engraving burr to make the size of hole you require. You can also use a coring bit for larger holes. Secure the bit you are using in the Dremel’s chuck, and you are ready to begin.
Begin the drilling process by holding the burr at a shallow angle to engrave a little pilot hole in the stone. Go at a low speed. Doing so helps to prevent the burr from slipping out of position. Once you have deepened the pilot hole enough, raise the burr to a vertical position and speed up.
Step Seven
With the burr in a vertical position, wiggle it around in tiny circles in the hole. If you use a coring bit, pulse it up and down instead. Once you have gone into the stone by 1/16 of an inch, pull out to allow water in. Continue drilling in 1/8-inch increments.
When you pause, assess the bore depth. If you are boring right through the stone, instead of sinking a hole into the end, you want to know when you are about to punch through to the other side. You might notice a slight difference in the sound or feel the burr makes at this point.
When you are nearly through to the other side, ease off the pressure so that you do not chip out the back when the burr goes through. By shining a bright light through the hole, you can assess how far you’ve drilled with translucent stones.
Step Eight
Turn the rock over, mark the hole’s position on the reverse side, and then drill from this side to meet the first hole in the middle, as doing so helps to prevent chip-out.
As it is challenging to avoid chipping entirely, use a round burr to finish up the hole, chamfering the edges to clean the existing chips and preclude new ones from developing.
Change the water in the bath during the drilling process if it starts getting murky. Rinse and dry the stone. It is now ready to use for whatever application you have in mind.
TIP: Getting from raw rock to polished stone is a daunting task, but if you follow this process you’re bound to get a specimen you’re proud of. Check out the complete guide in the article below:
How to Polish Rocks With a Dremel Drill? Follow These 4 Steps
Best Drill Bit For Making Holes In Rocks
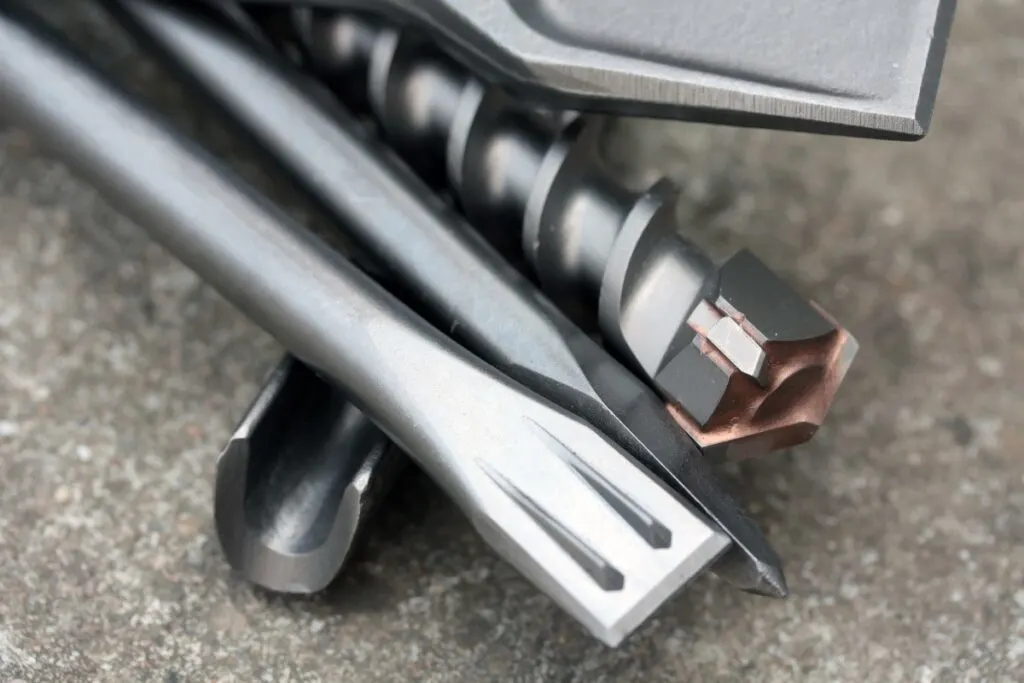
You may wonder about the best drill bits to fit your drill for drilling into rock. We have selected two good options you can use.
Best Option
The best option for a masonry drill bit is the Bosch carbide-tipped rotary hammer bits available from Amazon. This seven-piece set features bits with a rugged carbide tip and a four-fluted design that places less stress on the bit and evacuates dust more quickly. They come in a storage case, and you can use them with hammer drills.
Alternative
An excellent alternative to the Bosch bits is the Dewalt masonry drill bit set available from Amazon. This seven-piece set features bits with a four-fluted design and a two-cutter rock carbide tip and can be used with hammer drills.
How To Make A Hole In A Stone Without Drilling
Although making a hole in rock without any drill is time-consuming, it only requires a handful of tools and some basic know-how. Unfortunately, this method is only suitable for large holes in big rocks.
Ensure that you wear proper safety equipment to protect your eyes, respiratory system, and hearing.
Clean the rock and mark the spot where you want the hole. Position a cold chisel on the mark, and strike it with a light sledgehammer. Strike the chisel a few times, and then rotate the chisel.
Keep doing so until you have made a full circle. Continue until you have removed the mark you made and you have a perfectly circular hole in the right place.
Use compressed air to blow the rock dust out of the hole. Then resume chiseling as described. Repeat this cycle until the hole is the depth you need.
When the chisel stands in the hole without you having to hold it up, you can switch to using a heavier sledgehammer to speed up the process. Don’t use a lot of force, or you risk cracking your rock.
Conclusion
You will generally use a Dremel rotary tool to make holes in small lapidary stones and a drill press or hammer drill to tackle larger rocks. You can use a cold chisel and blows with a sledgehammer to make holes in a large rock without drilling.
And that’s how to drill holes in rocks!
TIP: Many of us may have in our homes some old rocks collection, either from when we were kids or perhaps from a couple of years earlier. Find out the best ideas on what to do with the old rocks collection in the article below:
What To Do With Old Rock Collection? 3 Simple & Practical Ideas