As an Amazon Associate, I earn from qualifying purchases with no additional costs for you.
When it comes to loading your rock tumbler, it’s crucial to strike the right balance. While it’s tempting to fill the barrel to the brim with as many rocks as possible, overloading can hinder the tumbling process and compromise the final results. Similarly, skimping on grit to cut costs may seem like a quick fix, but it can lead to subpar outcomes and prolong the tumbling time.
To achieve optimal results, it’s essential to understand the ideal quantities of rocks and grit needed for your tumbler’s performance. This not only ensures efficient tumbling but also helps conserve materials in the long run. Starting each batch with a clean tumbler barrel sets the stage for a successful tumbling process, providing the perfect environment for rock transformation.
Therefore, let’s take a closer look at the precise quantities of grit and rocks required for effective rock tumbling. By gaining a deeper understanding of these essential components, you’ll be better equipped to achieve stunning results with your rock-tumbling endeavors.

If you want to check out the best tumbling grits, you can find them here (Amazon links).
How Many Rocks Do You Put in A Rock Tumbler?
The first step in tumbling rocks is loading the barrel, which begins by adding rocks.
Here’s a detailed guide:
- Fill Level: Ensure that the rough rock material fills approximately 2/3 to 3/4 of the tumbler barrel’s total volume. Keep in mind that during tumbling, rocks naturally reduce in size by around 15-20%. Therefore, it’s crucial to load enough rocks initially. While you can use rocks of different sizes, none should exceed half the diameter of the barrel.
- Supplemental Materials: If you find yourself short on rock material to reach the recommended fill level, you can supplement it with plastic pellets or ceramic tumbling media to occupy any remaining space. This helps the barrel operate at its best capacity. However, avoid overfilling beyond 3/4 of the barrel’s capacity to prevent overloading the tumbler’s motor.
- Using Plastic Pellets: When using plastic pellet media, be cautious as certain types may float. Add enough pellets to properly fill the required volume before introducing water to prevent any dispersal once tumbling begins. Additionally, remember to use new pellets specifically for the polishing phases to achieve optimal results.
How Much Grit Do You Put in A Rock Tumbler?

Next, you should add the grit. Like the rocks, how much grit you put in your rock tumbler varies. Depending on the barrel size, the amount of grit will always differ.
All rock tumblers come with a chart indicating the amount of grit you should use at every phase of the process. However, if you lose the chart or don’t have it, a rule of thumb says to use 2 to 2,5 tablespoons of grit per pound of a load. Usually, you will start with about 80 grams of coarse silicon carbide grit.
Depending on the rock’s hardness, you may start with the 120/200 grit instead of the 60/90 one. As we were saying, coarse grit might break or scratch if the rocks have a hardness of 6 or below on the Mohs scale.
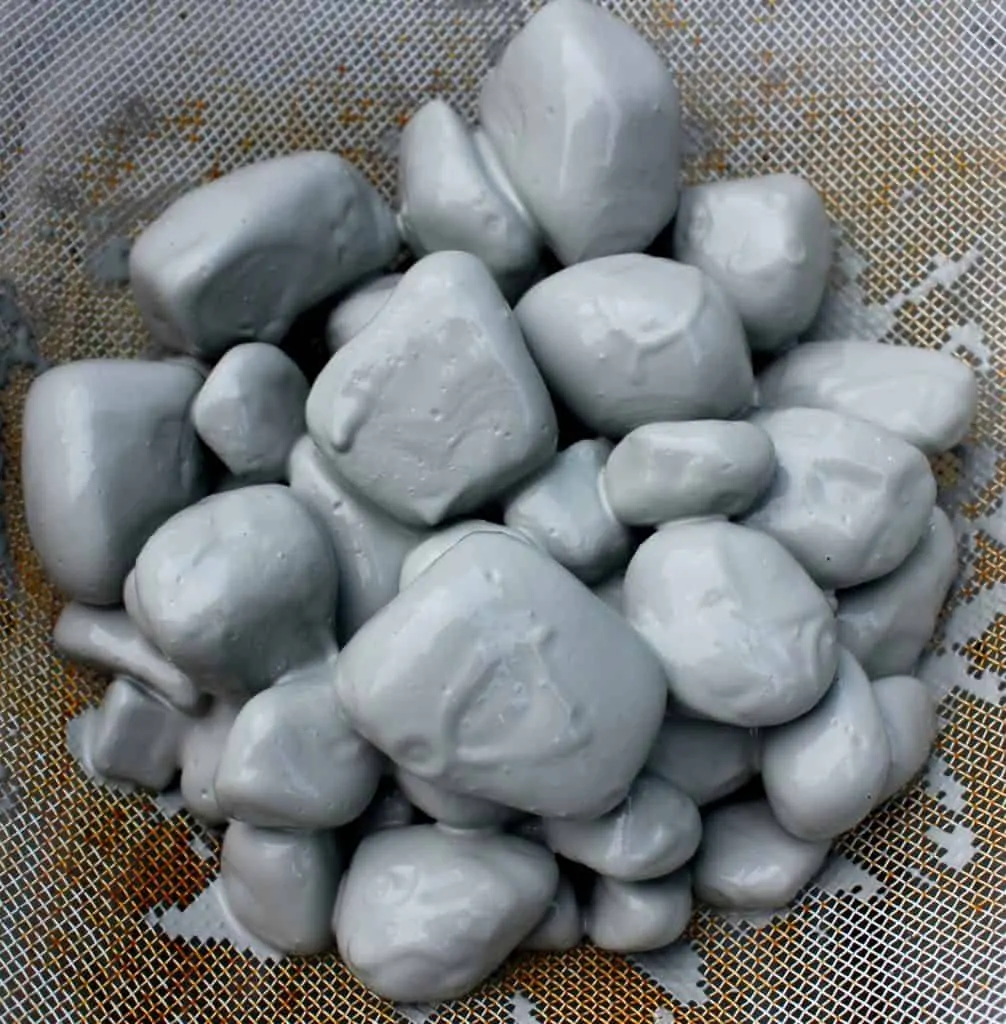
After you sprinkle the grit, you start to add water. If you wonder how much water you should add, the answer is simple – the water level must touch the bottom of the top layer of stones.
Before starting the tumbler, inspect the device and ensure the barrel is charged within the weight allowance for the motor.
Also, the sealing surface and the lid are clean. And don’t forget to monitor the tumbler for a few minutes to ensure there are no leaks.
To conclude, load your tumbler barrel 2/3 to 3/4 full with your chosen rough materials. The grit quantity is listed on the tumbler’s chart shipped with the device. In case of need, the rule is to add 2 – 2.5 tablespoons per pound of a load.
TIP: It is always good to know what rocks can be tumbled together and how long it takes to tumble different rocks. Check out these two articles below and find out how to get better results when you tumble rocks:
What Rocks Can Be Tumbled Together: Complete List With Tips
How Long Does It Take To Tumble Rocks? Values For Various Rocks
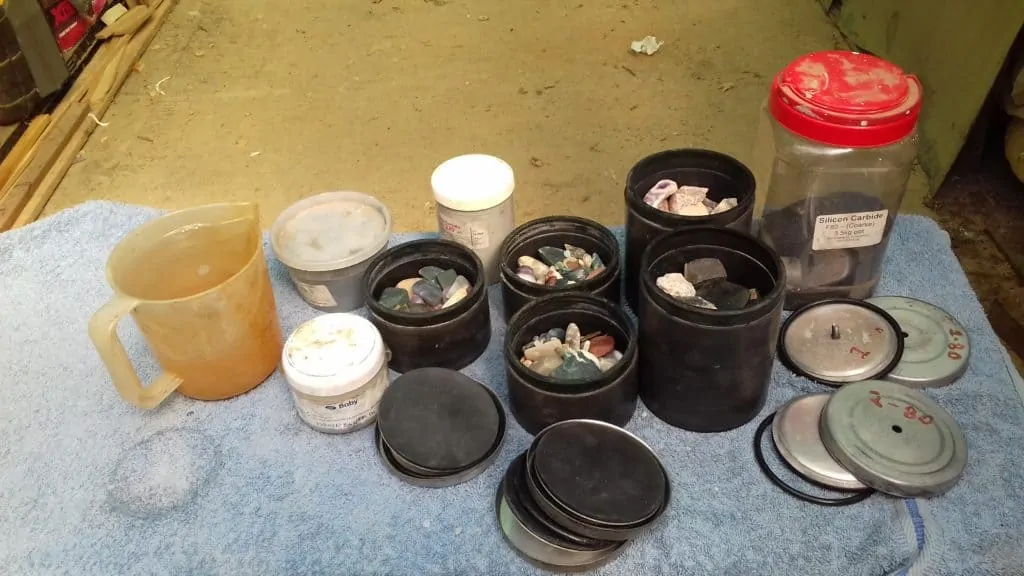
Materials Used in the Tumbling Process
Rock tumbling requires various materials to achieve the desired results. Here’s a comprehensive list of the essential materials used in the tumbling process:
- Rock Tumbler
Currently, there are two available types of rock tumblers on the market: rotary and vibratory tumblers. Rotary rock tumblers are far more common than the vibratory ones, and they are amateurs’ favorites. So, a rotary tumbler will do just fine.
If you want to start with rock tumbling I recommend trying this simple rock tumbler first (Amazon link). It is cheap and the package contains everything you need to start tumbling.
- Rocks
The rocks you want to tumble should have approximately the same Mohs hardness in a load. Otherwise, the results will be disappointing. Also, make sure the rocks you want to tumble do not have cracks, protrusions, or voids that may trap the grit.
- Plastic pellets
The plastic pellets are used to fill up the tumbler’s barrel when you don’t have enough rocks. Another role is to protect the rocks if they are fragile. I recommend using these plastic pellets (Amazon link).
- Grits
The rock-tumbling grit is a silicon carbide abrasive used to smooth, shape, and polish rocks. This hard material is the common choice for tumbling rocks due to its low price and characteristics.
- Polishing compounds
The best choice for polishing the rocks is aluminum oxide, a cheap polish that works great on many types of rocks. It gives an excellent luster to agates, jasper, and many more.
- Water
Make sure you add the right amount of water to the barrel. Too much liquid will affect the tumbling process as tumblers are very sensitive and require the right balance to work properly.
TIP: Do you know what to do then your rock tumbler starts to leak? It happens to everyone from time to time. Read more about the reasons why your tumbler leaks and how to fix it in the article below:
6 Reasons Why Your Rock Tumbler Leaks and How to Fix it
Rock Tumbler Loading
Before you begin loading your tumbler barrel with rocks and grit, it’s crucial to ensure that the barrel is thoroughly clean. This seemingly simple step is essential for achieving optimal tumbling results.
Any residual grit or rock fragments from previous tumbling sessions can mar the appearance of your stones and compromise the overall outcome. Additionally, using coarse grit residue from a previous stage during the subsequent medium grit phase can inadvertently scratch the rocks, necessitating a repeat of the process.
Another potential source of contamination arises from brittle rocks that may inadvertently mix with the rough. To prevent this, carefully inspect each rock before adding it to the tumbler barrel, ensuring that only suitable specimens are included in the tumbling process. Taking these precautions will help maintain the integrity of your tumbling project and ensure a successful outcome.
Types of grit
Grit plays a crucial role in shaping your rocks during the tumbling process. Typically made from silicon carbide, a material boasting a hardness of 9 to 9.5 on the Mohs scale, grit is instrumental in smoothing and refining the surfaces of your stones.
It’s essential to note that different tumbling machines utilize various types of grit, each specifically graded for optimal performance. Therefore, before beginning the tumbling process, always verify the type of grit recommended for your tumbler to ensure the best results.
- Coarse rock tumbler grit
In the initial stage of the tumbling process, coarse 60/90 silicon carbide, often referred to as coarse grit, serves the essential function of grinding down rough rocks. This coarse grit is primarily employed during the initial phase of tumbling to begin the process of shaping and smoothing the rocks.
- Medium (120/200) fine grit
Made from the same material, silicon carbide, this type of grit is used for smoothing the surface of rocks after the initial shaping.
- Pre-polish aluminum oxide grit
This type of grit is much finer than the previous ones, and it is used for the final polish of rocks.
- Polish aluminum oxide grit
This grit has a similar granularity to the flour and, it is used to do the final polishing of the rocks.
If you are interested in checking out the best grit for rock tumbling, try to use this grit kit (Amazon link).
FAQ about Rock Tumbling Grits
Here are some frequently asked questions about rock-tumbling grits:
Can I reuse grit from a Tumbler?
No, grit cannot be reused. During tumbling, the grit breaks down and becomes ineffective, especially during the polishing stages. Reusing grit can scratch your tumbled rocks. Always ensure the rocks and barrel are thoroughly cleaned before moving to the next tumbling phase. However, the polish can be reused multiple times.
Find out more about reusing grit in this article.
Can I make my grit?
Rock tumbler grit cannot be homemade unless you have access to the compounds required for silicon carbide. The notion that sand or river silt can replace silicon carbide is a myth, as these materials quickly wear down during tumbling and become inefficient.
Can you tumble rocks without grit?
While possible, tumbling rocks without grit may result in longer processing times and less satisfactory results compared to using proper grit. Some alternatives include sand or silica sand, though sintered aluminum oxide blasting grit, like Sinterblast, is becoming popular due to its affordability and recyclability.
TIP: Have you ever thought about using sand as grit? It sounds like a great and cheap idea but it is not so easy. Find out more about using sand during the rock tumbling process in the article below:
Can You Tumble Rocks with Sand? Everything You Need to Know
Do rock tumblers use a lot of electricity?
Rock tumbling is an expensive hobby. Depending on the area you live in and the tumbler’s motor’s size, the electricity bill can be high.
Common models of rock tumblers consume exactly one kilowatt hour of electricity per day and run continuously for 24 hours. If you don’t have a permissive budget, a better option would be to buy polished rocks.
BTW: Do you want to know more about rock and mineral identification? The books listed below are the best ones you can find on the internet (Amazon links):
- Smithsonian Handbooks: Rocks & Minerals
- Gemstone & Crystal Properties (Quick Study Home)
- Ultimate Explorer Field Guide: Rocks and Minerals (National Geographic Kids)
Final Thoughts
Determining the precise quantity of rocks and grit for your rock tumbler barrel isn’t an exact science. The outcome can vary based on factors like the size, hardness, and quality of the rocks, as well as the amount of grit used.
While charts and articles provide guidelines, nothing beats hands-on experience. Adjusting the amount of grit based on your observations from previous tumbles is key. Keeping records of your experiments helps refine your process over time.
While you can purchase polished stones, they won’t have the same beauty as those you’ve tumbled and polished yourself. The satisfaction of creating something unique often outweighs the convenience of buying pre-polished rocks.
TIP: Rock tumblers use various types of grits. Knowing how to use them, what type to use and what substitutes are available can make your life a lot easier. Complete guide about grits in the article below:
Rock Tumbling Grit: Usage, Types, Disposal & Substitutes